
Swap and go with Apple's easy strap-changing system
One of the top features of the Apple Watch is the swappable bands, which enable you to change one out for another in seconds.
Swapping between Apple Watch bands takes around 10 seconds, so it’s best to have multiple options ready. You may use a silicon Apple Watch strap for running or going to the gym, but swap it for a leather or link band when you return to the office.
Also, why not use different bands for different outfits? With such a lively market of third-party Apple Watch bands, it doesn’t have to be costly either.
Want to know how to change Apple Watch bands? Follow the step-by-step instructions below.
How to change Apple Watch bands

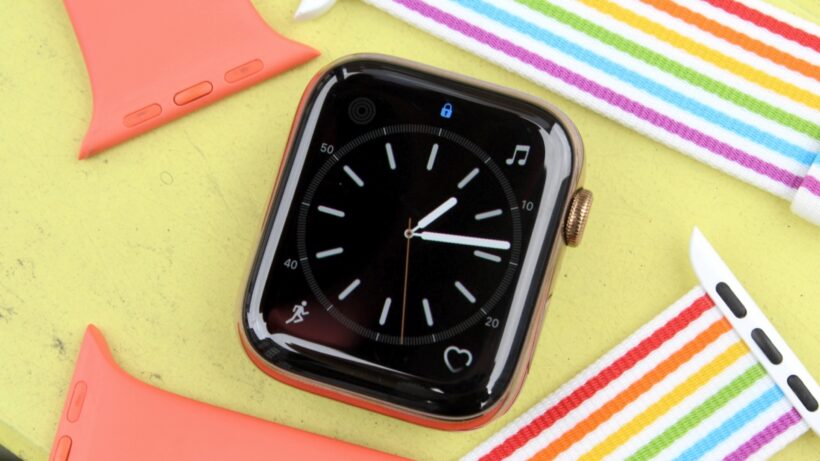
Every Apple smartwatch features two quick-release buttons on its underside—one at the top and one at the bottom.
These are shown in the above picture. Here are some instructions on switching them:
- Look for the quick-release button on the underside of the Apple Watch.
- Push in, pull the band sideways, and slide it out of the bracket.
- Now slide in your new band and wait for it to click into place.
What if it doesn’t click into place?
If you don’t feel the new strap click into place, it’s probably installed incorrectly.
The only criticism of the straightforward strap mechanism is that it’s difficult for some bands to determine the correct orientation.
So if it hasn’t clicked and sat nicely into place, or you can’t slide it past halfway, turn the band over and try again.
Apple Watch sizes

We have a complete guide to Apple Watch sizes, as the options can get confusing.
However, generally speaking, the bands from larger Apple Watch case sizes will correspond to one another and vice versa.
For example, a 46mm Series 10 strap size will work perfectly with the 45mm Apple Watch Series 9, 44mm older smartwatches, and the 49mm Ultra 1/2.


